Friday, February 12, 2016

Life is a Beautiful Ride

Hi Friends,

Happy Friday!

Today I am going to share with you a card I made using a fun stamp set called "Beautiful Ride' by Stampin' Up!


I used my Color Burst powders designed by Ken Oliver.  I love how once you add the water the colors just literally 'burst'.  There are so many options.  I can't wait to try more color combinations.  

signature

Wednesday, February 10, 2016

Sewingbird Flip-Book

Hi Friends,

I am happy to share with you a "Flip-Book" that I have made.  This flip-book is currently on its journey to a sweet friend.  

This is not a "pen-pal" type flip-book, it is filled with some goodies that I wanted to share with her.  


I used some Tilda Papers, Mother of Pearl Buttons, and some Sari Ribbon that I purchased from Ebay.  I used one sheet of paper and scored to create each panel.  Another way you could make this, is by using different papers and then putting them together with washi tape.  


 After you untie the Sari Ribbon and open the first flap this is what you see.  The right has some vintage laces and trims wrapped around a Tea/Coffee Stain tag.  and on the left you see a glassine bag filled with Tilda die cuts.  The glassine bag is adhered to the page with washi.  On the front of the glassine bag is a cut out and I hot glued Mother of Pearl buttons on the space where there were buttons. 


After you open the right flap, you will see this.  


I have added a few more little pages inside, and when you open each one, it unveils different Vintage Findings. 


All of these vintage items, I picked up at an estate sale.

Thanks for stopping by.  Hope you enjoyed my first 'Flip-book'.  
signature

Thursday, January 14, 2016

Momenta/Art-C: Art Box


Today's post isn't about what I sent to CHA for the Momenta/Art-C booth.  Today's project features "NEW PRODUCT" that was Debuted at the Winter CHA show in Anaheim, California.  

I picked up this cute distressed box at a big box store and thought it would be so cute stenciled up.  

So here we go.  I am showing you a step by step of what I did to create this cute box.  

INSTRUCTIONS:
Step 1:  Gather your supplies.  I wasn't sure what color I wanted to do so I gathered all the 2016 new release product that I had so I can use them on this project.  


Step 2:  I decided to go with the Country Pink Ultra Matte Chalk Paint and the flower stencil from the set "Flowers and Bugs Adhesive Stencil".  

I put some paint on my non stick mat and used my 'groove tool' and the small brush to add the paint to my project.  The small brush is perfect for the small areas.  

I added all around the box.  


Step 3: After the pink flowers have dried completely.  

I placed my large stencil on the area to the left of the box first.  I used Country Green Ultra Matte Chalk Paint and the brush applicator to the groove tool and only added the Country Green paint to the area where the pink flowers were not.  

I then- picked up my stencil and moved it over, carefully aligning it up with the lattice template already painted on-Then I finished adding the Country Green paint over to the right of the box.  

I only did this for the front and back of the box and not the sides. 

This is what it will look like when you are done.


Step 4:  After the Country Green paint has dried completely I added letters from the 'Alphabet Adhesive Stencil' to say 'ART'.  I placed the letters on the bottom right of the box.
 

Step 5:  I used Steel Luxe Paint and my Groove Tool with the small brush attacher to add paint to the letters. I love the stainless steel look.   


Step 6:  After the paint has dried, add your art supplies to the box.  


Thank you for stopping by.  Hope you have a great day!

signature

Wednesday, January 13, 2016

Momenta/Art-C: Project #4 for CHA

Hi Friends,

Good Morning!  Here is the final project I made for the Momenta / Art-C booth at the Winter CHA in Anaheim, California.  

For this project I used a Configuration Type wood box set that I picked up at a big box store.  It was already put together, all I had to do was paint and alter it.  


I used my scissors to distress some of the edges of the paper to make it a little more vintage'y.  
The picture that I am using is of my Husband and me for our Christmas Cards this year.  


I really love how it turned out.  A nice size for a home decor piece.  
Supplies I used:
Various Ephemera Packs by Art-C
Flowers & Bugs Adhesive Stencil by Momenta
Nautical Adhesive Stencil by Momenta
Roman Calligraphy Alphabet Stencil by Momenta
Serif Alphabet Adhesive Stencil by Momenta
White Ultra Chalk Soft Matte Paint by Art-C
Country Blue Ultra Chalk Matte Paint by Art-C
Country Green Ultra Chalk Matte Paint by Art-C
Gray Ultra Chalk Soft Matte Paint by Art-C
Metallic Gold Paint by Art-C
Groove Tool by Art-C
Small Paint brush
Blue Distress Ink
Pink Distress Ink
Brown Distress Ink
Art-C Bottle
Gold Glitter
Foam Adhesive
Adhesive
Hot Glue Gun
Twine
Thanks for stopping by!  Have a great day!
signature

Tuesday, January 12, 2016

Momenta/Art-C: Project #3 for CHA

Hi Friends,

I am sharing another project I made for the Momenta/Art-C booth at CHA.  This time I made a sweet & bright card.  I love the texture that this card has.  When I was using the Silver Texture Paste Cream with the stencil it was a breeze and so easy to use.  


Supplies I used:
Art-C Ephemera Collage Pack-Word Play
Momenta / Art-C Stencil & Stamp Duo
Silver Texture Paste
Clear Block
Black Ink Pad
Needle & Black Thread
Black Card Stock
White Card Stock

Thank you so much for stopping by.

signature

Monday, January 11, 2016

Momenta/Art-C: Project #2 for CHA


Hi Friends,

Happy Monday!  

Today I am here to share with you another project that I made for CHA.  I really love this project.  I took one of their bottles and had my husband puncture a hole in the lid.  I then took my "Crop-o-dile" and punched a hole in the tin, which is the ATC mini album & I only used the base of the tin.  With a screw I was able to put them together.  
Thanks Hubby.... 

On a piece of paper from the ephemera pack, I used Gold Metalic Paint and the lattice stencil and created a background on the pattern paper.  After it was all put together I used my finger and added some of the Gold Luxe around the edges of the tin to add a bit of shimmer. I also used the Gold Luxe on the center of the butterfly with a fine paint brush. 

Supplies I used:
Art-C bottle
Art-C ATC Mini Album Tin
Country Green Chalk Paint
Gold Luxe
Gold Metallic Paint
Stencils/stamps
Gold Chunky Glitter
Victorian Ephemera Pack- Art-C
Hot Glue Gun
Groove Tool- Art-C
Brown Distress Ink

Thanks for stopping by.  
signature

Sunday, January 10, 2016

What was in the box?

I am back for a moment...  Because I bet you were wondering what was in my CHA 2016 New Release box that Momenta/Art-C sent me last week?  Well here you go..  :)


Thanks for stopping by.

signature

Exciting News- Momenta & Art-C Projects

Hi Friends,
My apologies for not posting in a while.  :)  

Today I have some exciting news to share with you.  

About a month or so ago- I was asked to do some freelance work for Momenta.  Momenta is a distributor of Paper Crafts as well as Mix Media items.  They do product for Momenta, Art-C and Little Yellow Bicycle.   You can see the various brands under Momenta by going to their Website.  http://momenta.com/.  

Momenta is currently at CHA and before they left, they sent me another 'FUN' package of "NEW RELEASE" Items.  I do have a project to share with you that I made,  I'll be posting it in the next day or so.    

I am so excited that I can share with you the items I made for the booth.  Over the next few days I'll be sharing various Projects- so be sure to stop back by.  


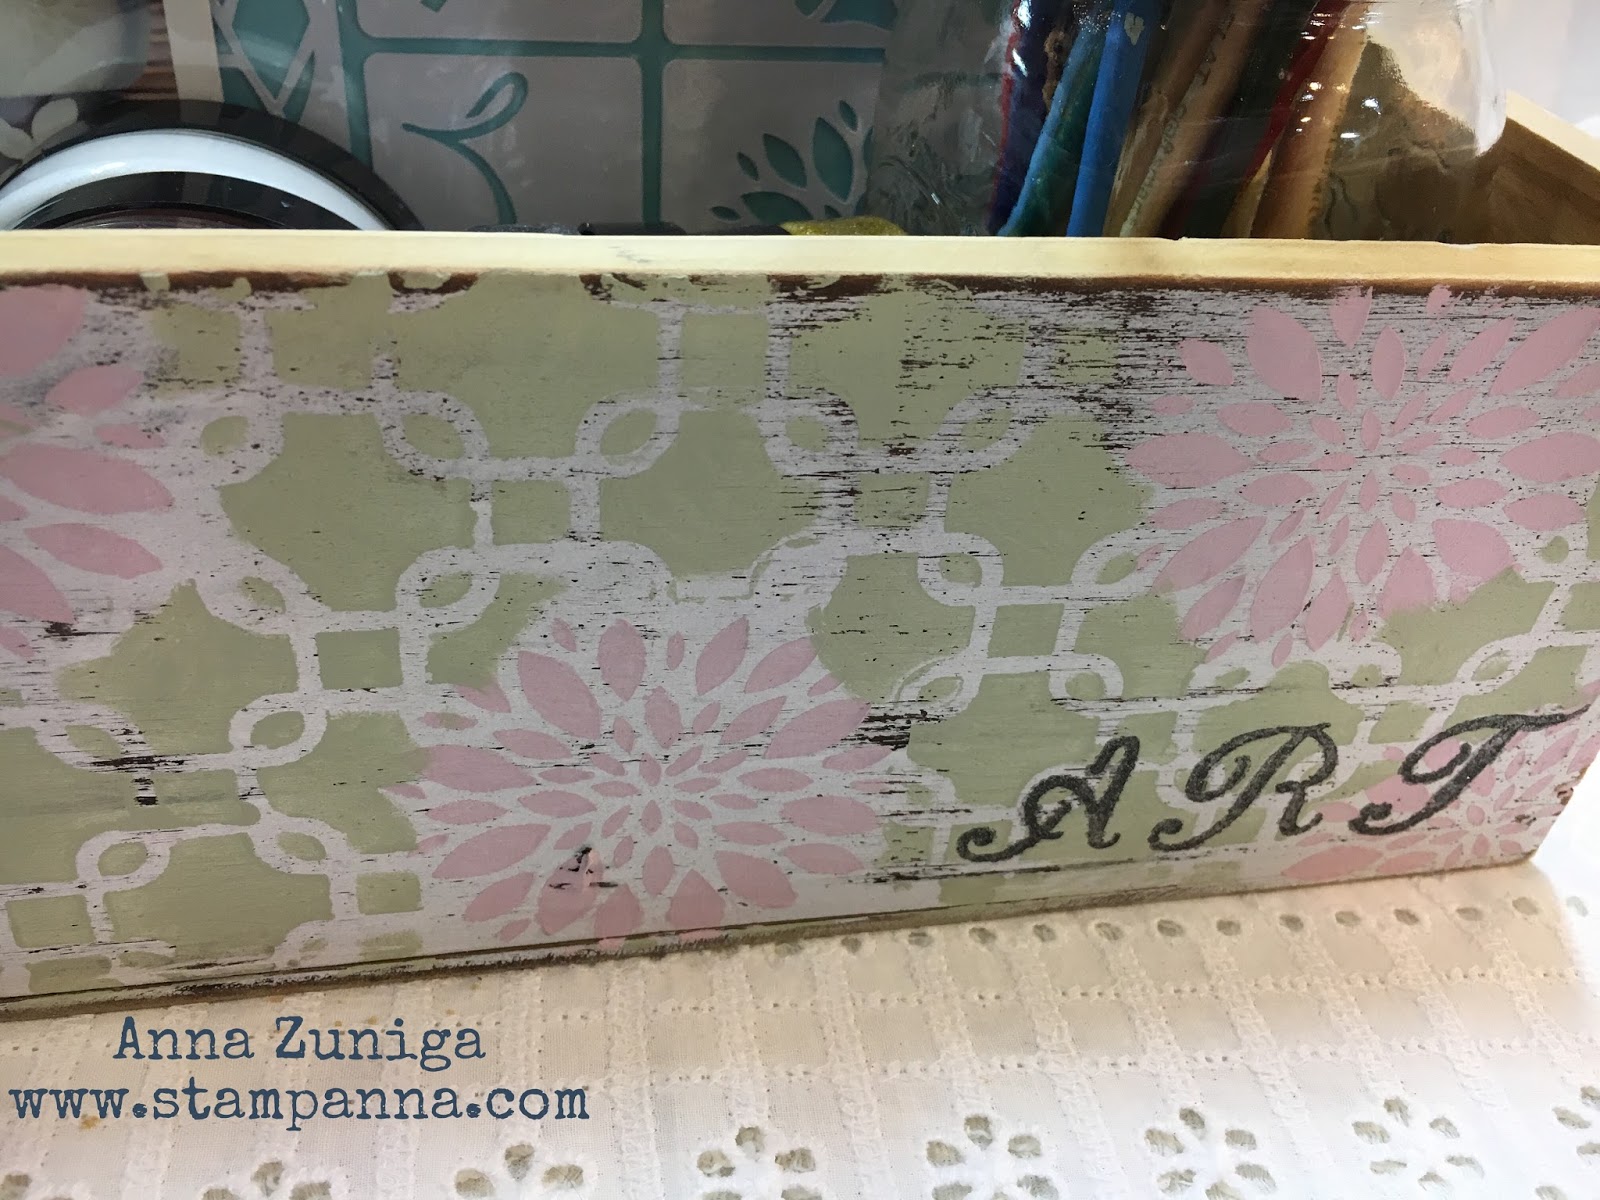
For this project I used:
Country Blue Ultra Chalk Soft Matte Paint by Art-C
White Ultra Chalk Soft Matte Paint by Art-C
Momenta Adhesive Stencil, 6" x 8", Blessed
Groove Tool Starter Set- Art-C
Various Ephemera Packs by Art-C
Burlap & Twine
Art-C Wood Pallet 6" x 6"
Brown Distress Ink

Have a great day and thanks for stopping by.

signature